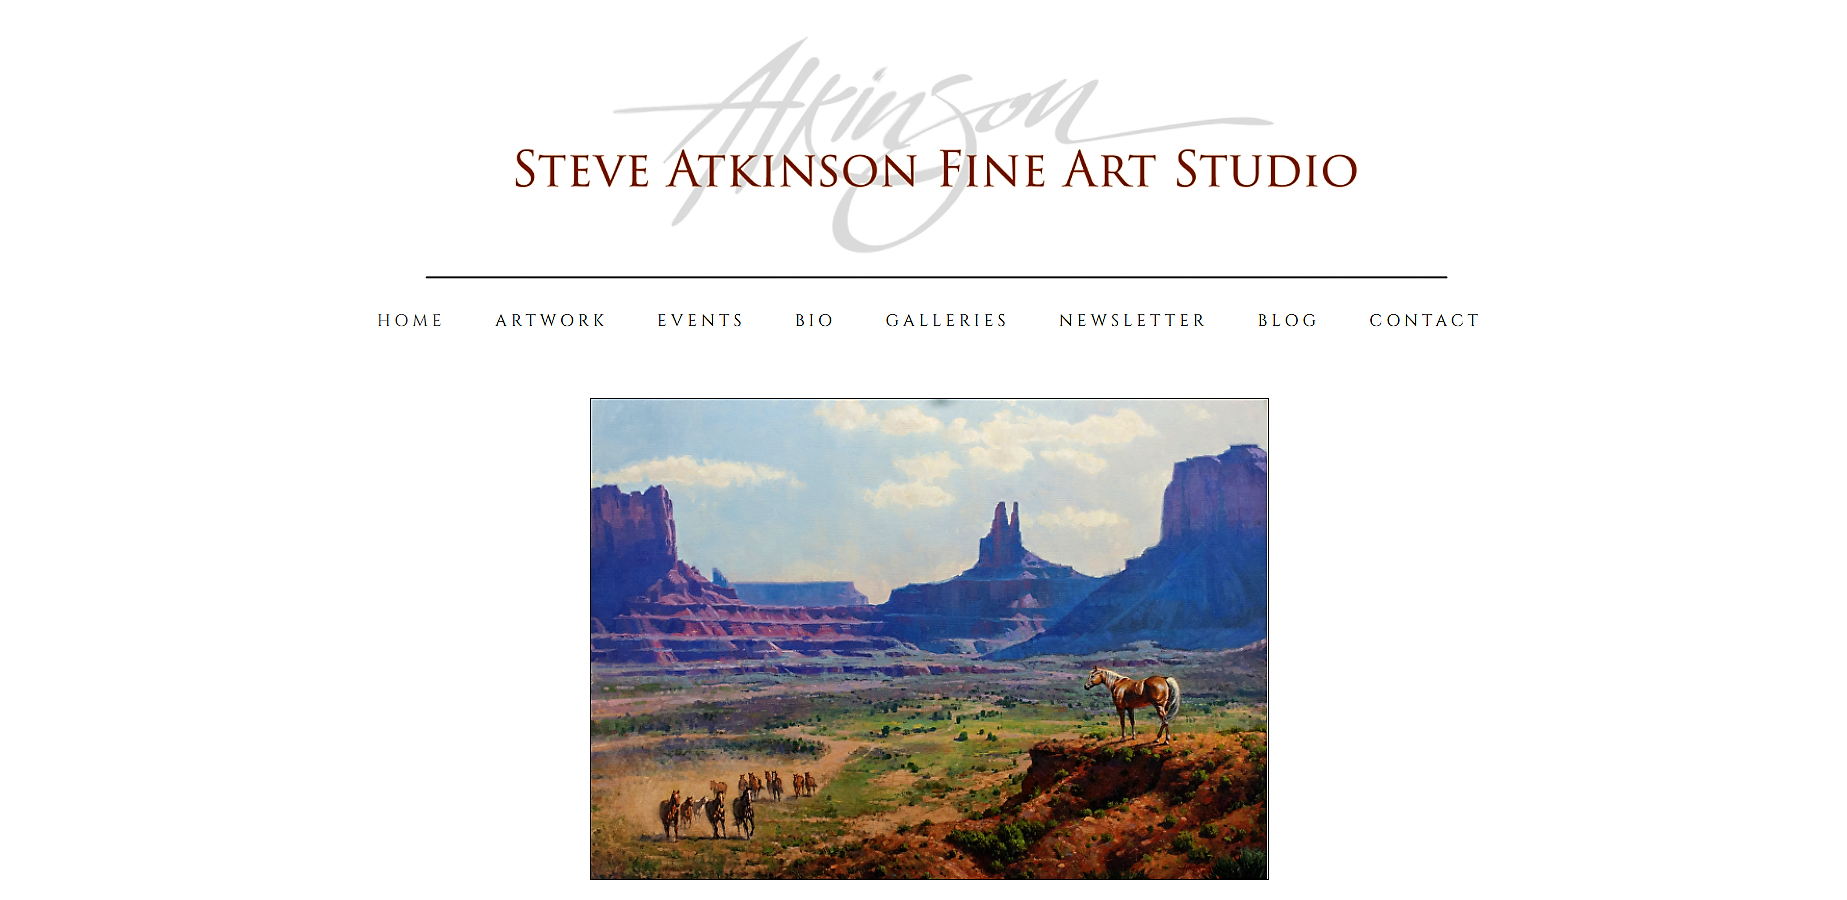
For a unique, professional look, you can use a custom logo in place of the automatically generated Navigation Heading.
Example:
Create Logo
A good program to use for creating a logo is Photoshop or Adobe Illustrator. If you are not versed in these programs we suggest asking a friend who is or hire a graphic designer.
Once the logo has been created, follow these steps:
1. Create .jpg or .png image file of your logo in exact size you wish it to appear.
The logo feature uses the full size image.
Your image file can be .jpg or .png.
The right file size depends on template. Try 600 pixels (px) wide by 100px tall for starters.
If it's not quite right, you will need to adjust the size a bit and upload the newly sized version.
Here's a handy tool for converting inches to pixels:
Inches to Pixels (Y) Conversion Calculator
Suggestion: |
2. Use same background color for your logo as background color of your site
This is important:
Your logo may have a transparent background in your Photoshop .psd file, but when you save it as a .jpg or .png to upload to your Control Panel, the software will add a white background.
Click here for a great color picker resource.
Note: Using just a font, just text, for a logo image is possible but it is not the best practice. Doing font/text as an image tends to make the font jagged and will not display the same as the use of an actual font. |
Place on Site
From your Control Panel:
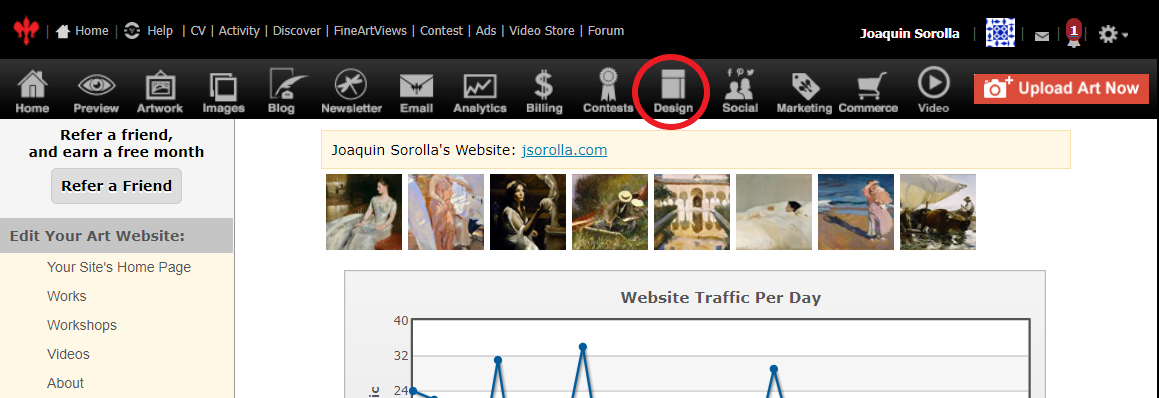
- Click Design icon (upper row)
- Click Advanced (faint link, top right)

- Click Add or Change Your Website's Logo
- Click Upload a file
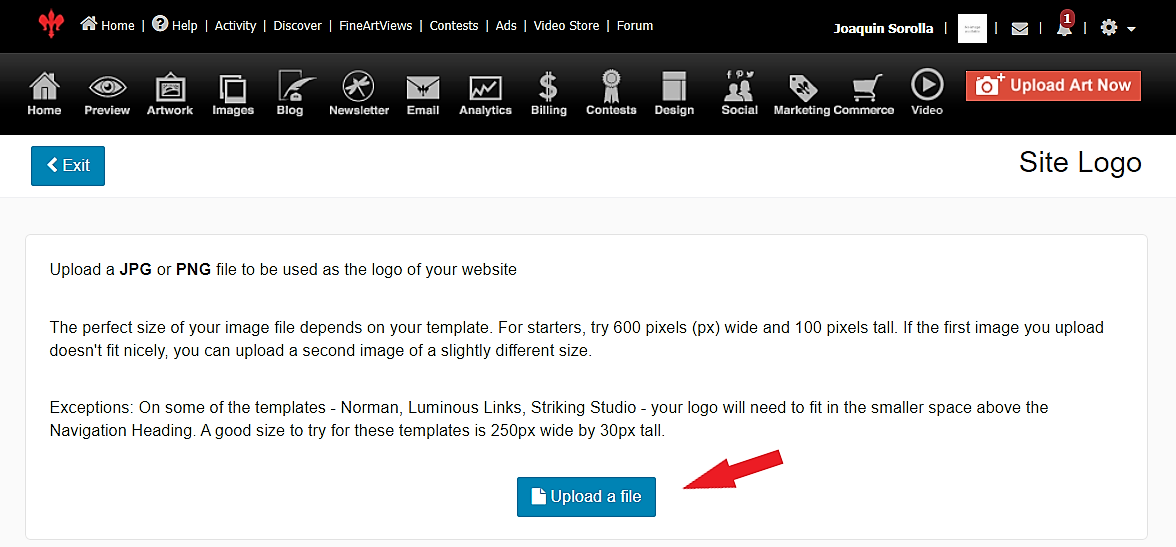
- Click blue box to find, open & upload the image file

If you have a logo already in place, you'll get this screen:
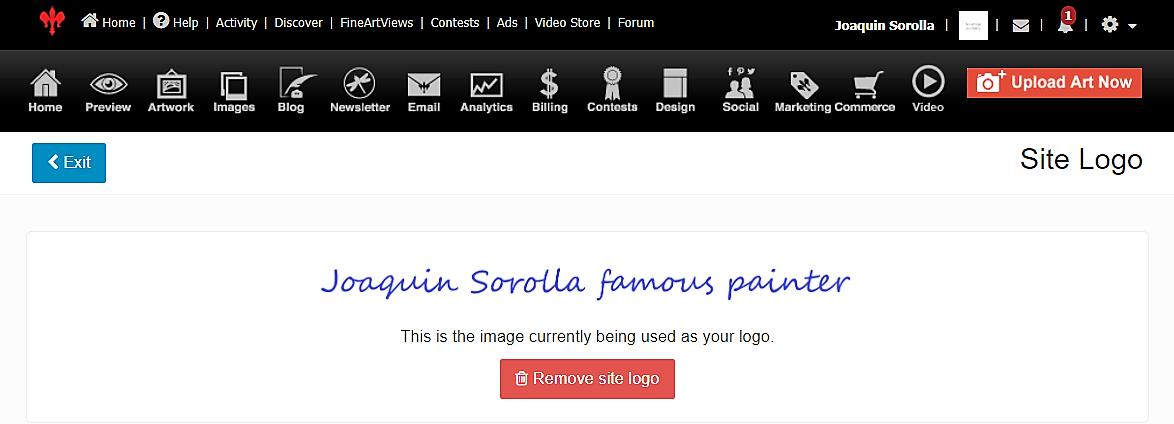
- click Remove site logo to either start over or to revert back to the automatically generated Navigation Heading.
Before & After
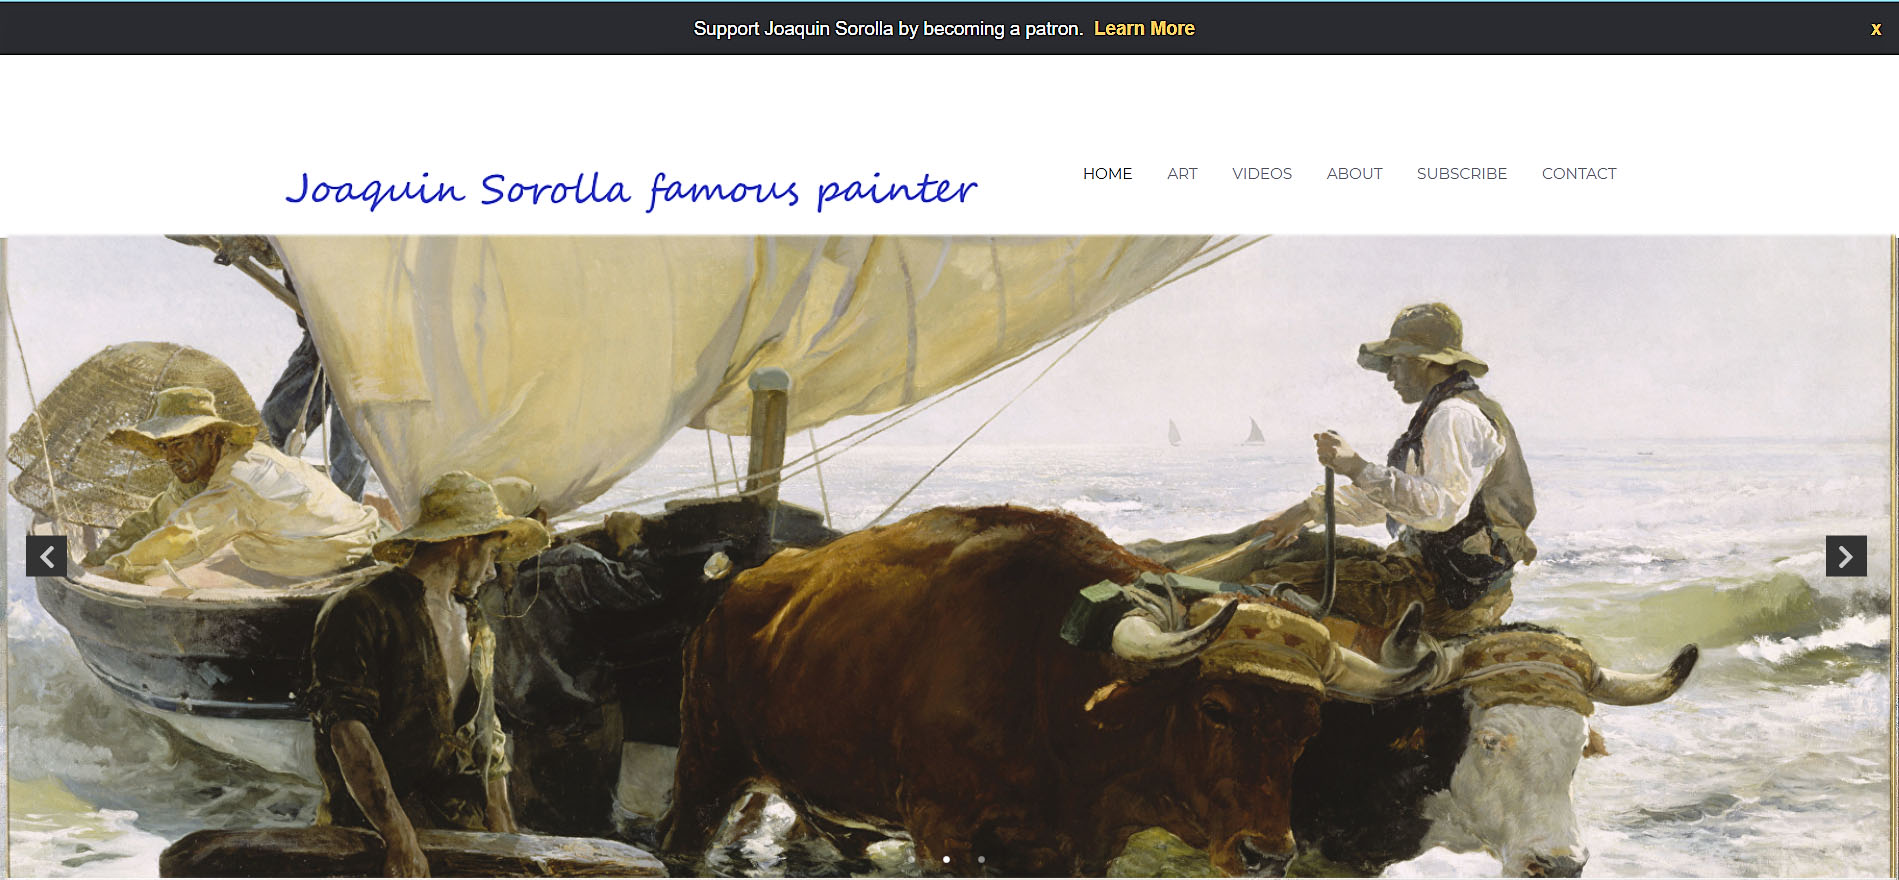
Before:
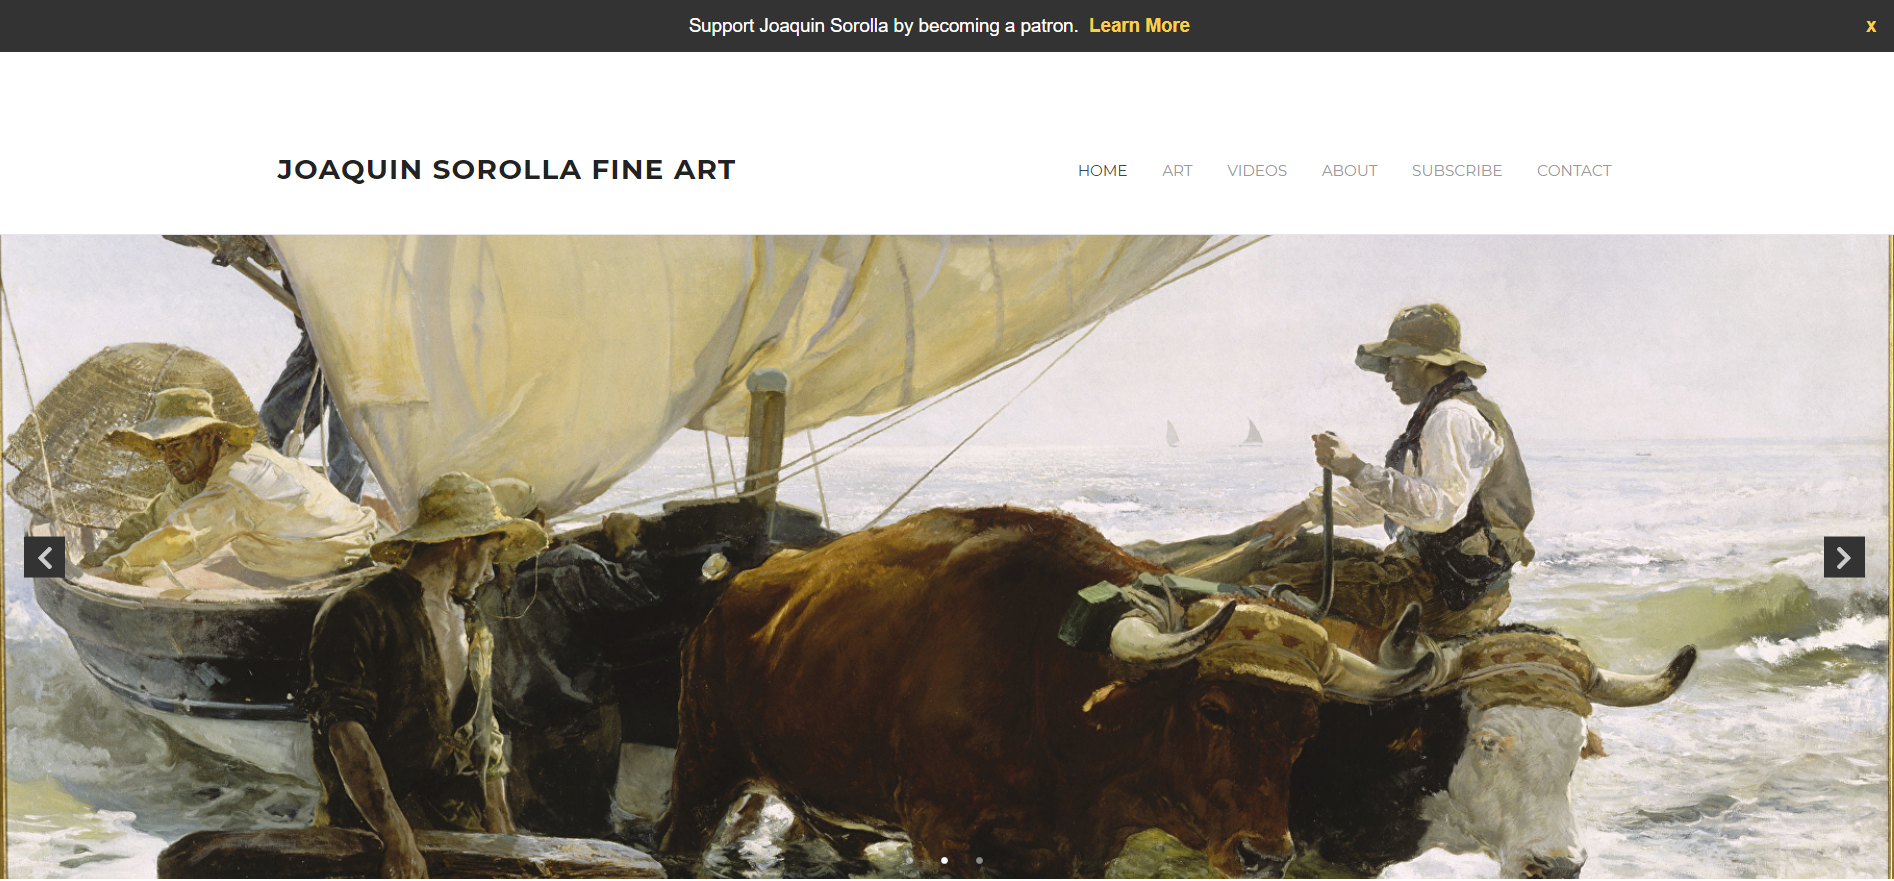
After:
Samples
- Deborah Whytock
- Oak Rose Studio
- Steve Atkinson
- John Whytock
- Beverly Carlson-Bradshaw
- Karen Ann Hitt
- Charice Cooper
- Timothy Tyler
- Kathleen Dunphy
- Greg Larock
- Richard Oversmith
- Jeanne Rosier Smith
- Sonia Kane
- Griffith Art
- Teresa Lynn Johnson
- Jeff Leedy
- Jennifer Evenhus
- Tracey Mardon
- Donald Yatomi
- Günther Haidenthaller
- Trisha Adams
- Karen Weihs
- Susan Jarvis
- Monique Carr
- Cindy Nowotny
- Nathalie Lapointe
- Wanda Ann Kinnaman
- Olaf Schneider
- Dan DeLouise
- Susan Kuznitsky
Legacy Method (prior to 9/2020)
If you added a logo prior to September 2020, here are the steps to change the logo:
- from Control Panel
- Click Design icon (upper row)
- Click Advanced (faint link, top right)
- click Older Legacy Template Options
- click Legacy Add or Change Your Website's Logo
- follow the prompts
10102024
