FASO offers a way to separate your subscribers into separate lists allowing you to send your newsletter to a specific group or to your entire list of subscribers.
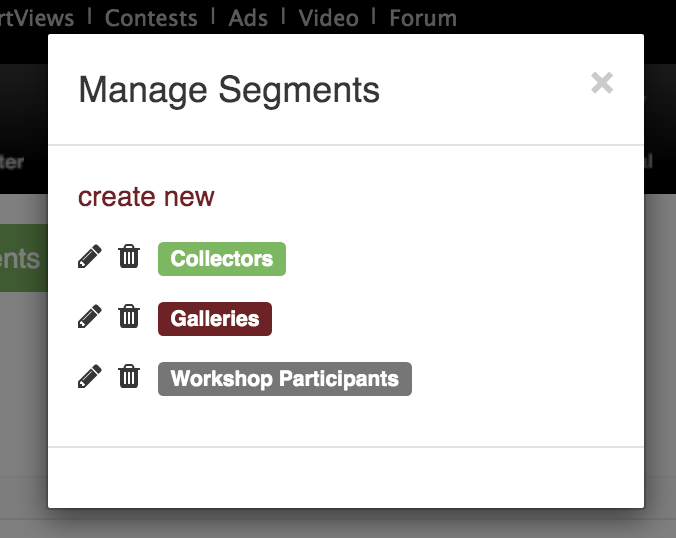
Manage Segments
- from home screen of FASO Control Panel
- click Newsletter icon (upper row)
- click Subscribers
- click Manage Segments

From here you can:
- Add Segments: click create new
- Delete Segments: click Trash Can icon
(to the left of the segment) - Rename / Edit Segment Label: click the Pencil icon
(to the left of the segment)

- To close the pop up window, click the X in the upper right corner
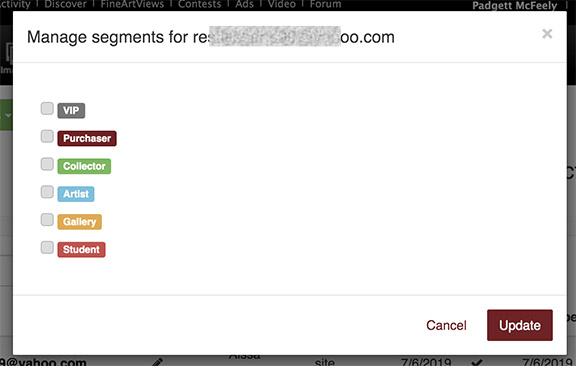
To Add and Remove Subscribers:
- To the right of the subscriber's name, hover over the Segments column.
- click on the pencil icon that appears
![]()
- check the box to the left of the segment
- click Update
NOTE: You are limited to creating 26 segments (in addition to the included Default Segments).
Default Segments included are:
- VIP
- Purchaser
- Collector
- Artist
- Gallery
- Student

You cannot Edit the Default Segments.
To Send
Send your newsletter normally. See this FAQ:
How to Create and Send a Newsletter
Once you have sent the test, the Sending Screen will display buttons for each segment you have created. Choose the segment to send to or send to the enter list.

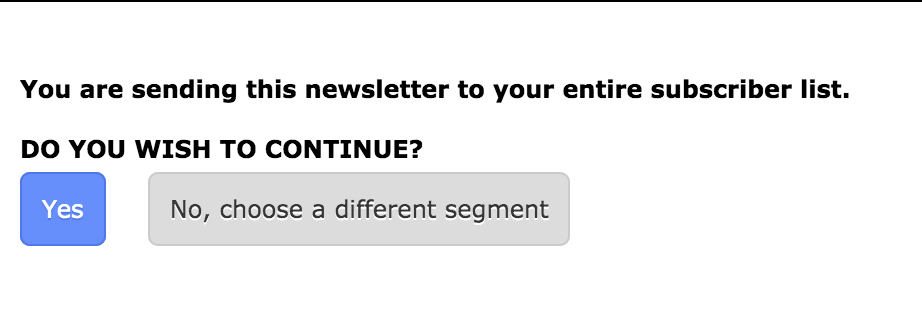
When you click on Send to All Subscribers Now, this screen comes up:

Click Yes to send to entire list.
To send to multiple segments, select Send to a Custom Audience at the bottom of the sending screen.
NOTE: This feature is still in beta.
Remove from Newsletter Archives
If you sent a newsletter to a specific segment/group and you do not want the newsletter to show in your Newsletter Archives, remove the newsletter from the archives as follows:
- From FASO Control Panel
- Click dragonfly/Newsletter icon (upper row)
- Click Sent (left column)
- Click Edit (to the right of newsletter title)
- For Public Archive field, select No
- Click Save Changes
01222025